REVIEW · EDINBURGH
4-Day Magical Mull, Iona & West Highlands Small-Group Tour from Edinburgh
Book on Viator →Operated by Rabbies Trail Burners · Bookable on Viator
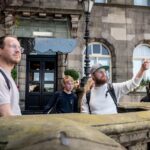
Four days, three islands, one unforgettable loop. The West Highlands drive is the showpiece, but what makes this tour work is the mix of ferry time plus real breathing room in Tobermory and on Iona. Guides such as Rob, Alan, and Murray have earned praise for keeping the stories flowing without turning the day into a lecture.
My favorite part is how the days feel balanced: you get big-scenery stops like Glencoe and white-sand breaks at Calgary Bay, then you shift gears to small-island pace. The trade-off is that you’ll be choosing between the Iona Abbey visit and the optional Staffa boat trip, since you can’t do both on the day.
In This Review
- Quick hits before you go
- From Edinburgh to Glencoe: the Highlands warm-up you actually need
- Tobermory on Mull for 3 nights: why this base beats day-tripping
- Where you sleep: the real-world difference between B&B and hotel
- Iona and the Staffa choice: Celtic calm, then a hard decision
- Optional Staffa boat trip: nature’s cathedral, weather permitting
- Mull Day 3: Calgary Bay for the reset, with art and whisky stops
- Inveraray and Luss on Day 4: castle town charm, then Loch Lomond views
- Small-group size and the mini-coach: what comfort buys you here
- Price and included value: when $1,080 makes sense
- Comfort, timing, and packing the practical way
- Should you book the 4-Day Magical Mull, Iona & West Highlands tour?
Quick hits before you go
- Tobermory base for 3 nights: colorful harbor town with enough time to wander and shop at an unhurried pace
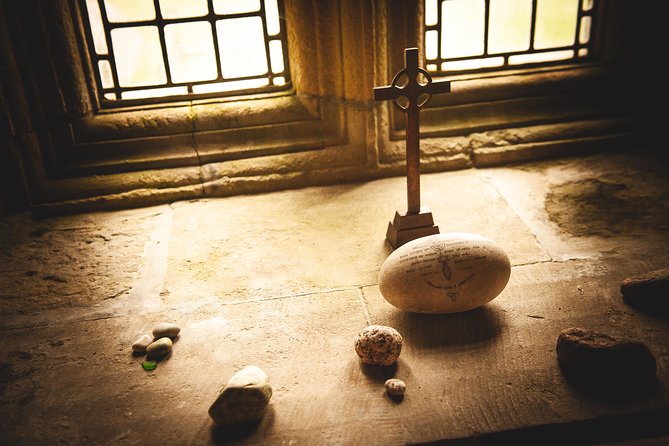
- Iona’s Celtic sites: Abbey and museum time, with crosses and headstones to look closely at
- Staffa is worth the gamble: Fingal’s Cave is framed as nature’s cathedral, but it’s optional and weather-dependent
- Glencoe plus Lowland return: iconic rugged views early, then Loch Lomond’s village stop on the way back
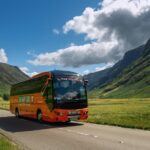
- Small group, big comfort: max 16 people on a 16-seat Mercedes mini-coach with planned restroom breaks
- Good value if you want guided transport: you’re paying for getting around comfortably, not for ticketed attractions
From Edinburgh to Glencoe: the Highlands warm-up you actually need
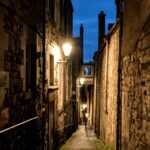
The day starts at 8:45am from Edinburgh Bus Station (St Andrew Square area). This is one of those tours where the early start matters: you’re already out of the city and into countryside before the day gets busy, and you don’t waste your limited vacation hours staring at traffic.
Your first major stop is Loch Lomond and The Trossachs National Park. You’ll have a 30-minute pause by the loch or in a Highland village. This isn’t just a quick stretch-your-legs break. It’s a smart reset. After sitting in the car, you need a chance to stand, breathe clean air, and get your bearings visually—especially if you’re arriving to Scotland for the first time.
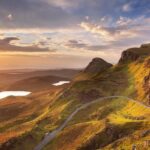
Then comes Glencoe, the big-name stop. You’ll get about one hour, with time for photo stops before lunch in the local area. Glencoe is famous for a reason: dramatic, rugged slopes and a tight sense of place. Even if you’re not a hiking person, you can still soak up the feeling from viewpoints and road pull-offs. Just be ready for wind and changing light—your camera will earn its keep.
What to watch for: the day is built around driving time. If you’re sensitive to long seated periods, consider bringing layers and a snack (meals aren’t included).
You can also read our reviews of more tours and experiences in Edinburgh

Tobermory on Mull for 3 nights: why this base beats day-tripping
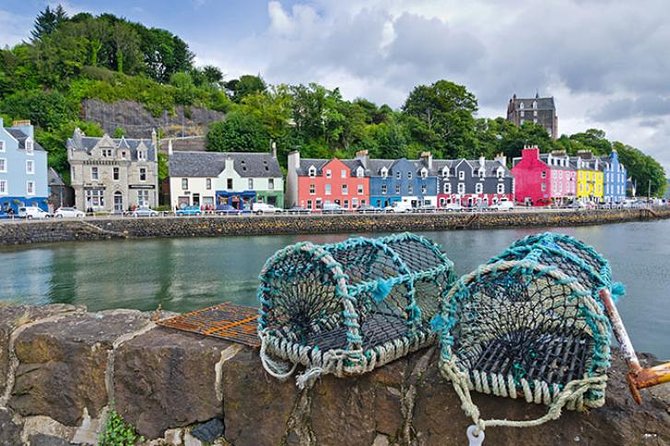
On Day 1 you arrive in Tobermory, and you’re not just passing through. You’ll have around two hours to orient yourself in Scotland’s island capital—brightly colored buildings, a working harbor vibe, and streets that invite slow walking.
Tobermory’s name is part of the charm—meaning Well of Mary—and that little fact gives you an extra thread to follow while you wander. You’ll also quickly see the difference between a place that hosts ferries and a place that actually lives like a town. This matters because the tour isn’t only about scenery. It’s also about giving you time to be a normal person there: browse shops, grab coffee, and find a view that isn’t scheduled for you.
Over the course of the tour, Tobermory becomes your hub:
- You spend three nights in en-suite B&Bs or 3-star hotels (breakfast included).
- You’ll return there after Iona and after the Staffa option.
- On Day 3 you’ll get another about one hour back in town for the Tobermory Distillery & Visitor Centre area plus time to peruse shops.
Where you sleep: the real-world difference between B&B and hotel
You choose between a 3-star bed and breakfast or a 3-star hotel at booking time. Both include breakfast, but the experience isn’t identical.
- B&Bs are often on the outskirts, and you may face a 20–30 minute walk to pubs and restaurants. Lifts aren’t available in this type of property.
- Hotels are usually more central, but you might still walk 20–30 minutes to some spots. If stairs are an issue, ask for a ground-floor option or lift access if available.
My practical take: if you want evening flexibility (a short walk to dinner), pick the hotel option when you can. If you don’t mind stepping out of town and you like a more local stay, a B&B can feel more intimate.
Iona and the Staffa choice: Celtic calm, then a hard decision
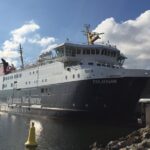
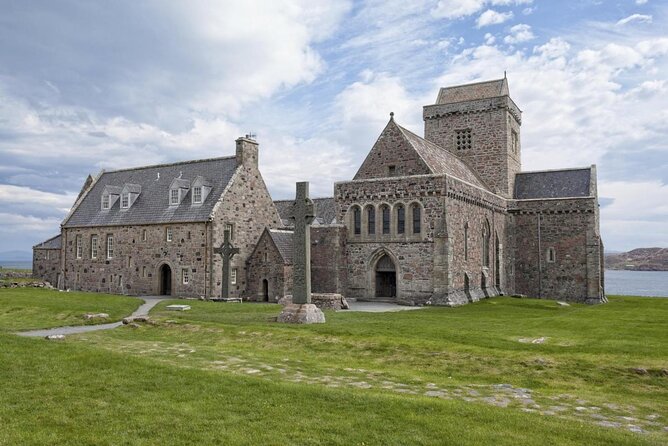
Day 2 is where the tour becomes special in a different way. You head to Fionnphort and take a passenger ferry to Iona. Iona is described as the cradle of Celtic Christianity, and that comes through in the feeling of the island: quieter, more reflective, and built around walking rather than rushing.
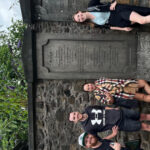
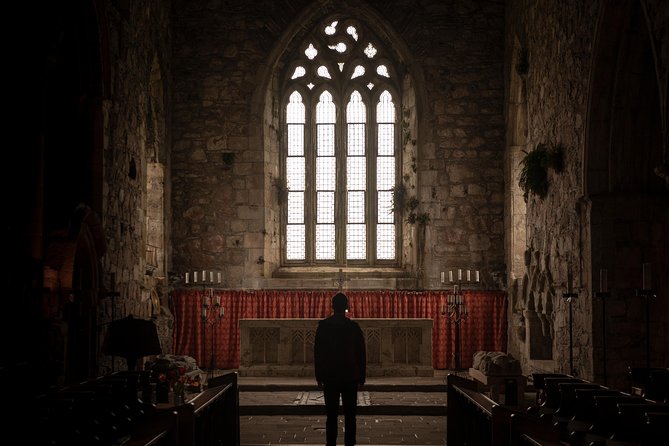
You have about three hours on Iona. You can explore the Abbey and a museum focused on history and Celtic heritage. This is where you’ll be looking at Celtic crosses and headstones—small details that don’t need crowds or big explanations. If you’d rather slow down, you can also choose a beach stroll instead.
Here’s the key consideration: you must choose between Iona Abbey and the Staffa boat trip. If you book the Abbey visit, you won’t have time for Staffa that day. The tour notes this as a limitation, not a preference, so don’t plan to do both unless your confirmation specifically allows it (the rule is stated clearly).
Optional Staffa boat trip: nature’s cathedral, weather permitting
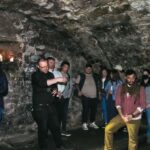
In the afternoon you can join an optional small boat trip to Staffa. It’s not included and depends on conditions. The goal is Fingal’s Cave, described as one of the most amazing geological sites, and nicknamed Nature’s cathedral.
This is one of those “say yes if you can” experiences, because Staffa is less about towns and more about the awe factor—rock formations shaped over time, viewed from the water. But your choice matters: if Celtic sites are your priority, you’ll likely prefer the Abbey time. If you’re chasing dramatic geology, Staffa wins.
My tip: decide based on what you want your photos to look like. Abbey crosses and sandy beaches give you one kind of memory. Staffa gives you a different one—sea, stone, and a sense of scale.


Mull Day 3: Calgary Bay for the reset, with art and whisky stops
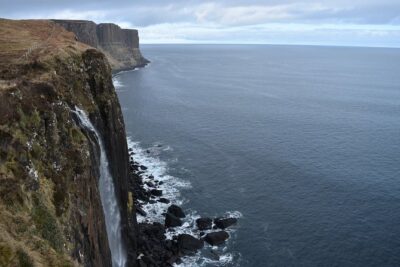
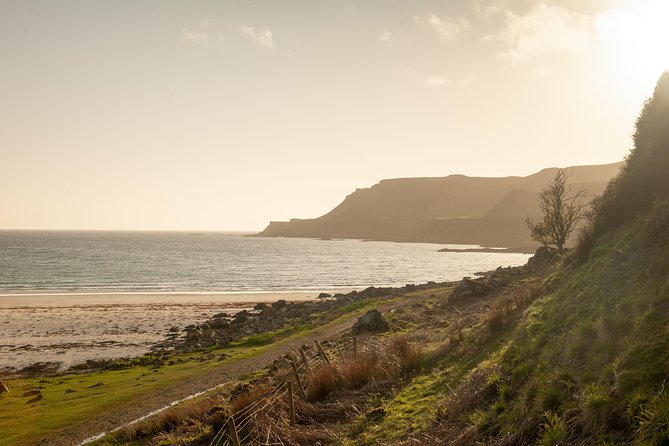
Day 3 mixes postcard moments with real decompression. You start with Calgary Bay for about 30 minutes, and the description is exactly what you’ll hope for: bright white sands and crystalline water. This is the part of the trip that feels made for standing still. You don’t need a plan; just find a spot, look at the water color, and let the day slow down.
Then you head into Isle of Mull for time that can include villages and a waterfall stop, plus a stop for Calgary Art in Nature. That’s a small gallery blending nature and creativity, which is a nice change from the usual “look at view, move on” rhythm. Even if you’re not a gallery person, it breaks the day into something human and unexpected.
After that, you return to Calgary Bay for about one hour to truly enjoy it. This is where you’ll likely relax, take more photos, and decide whether you want to walk a bit or just sit and watch. The tour frames Calgary Bay as turquoise waters with dramatic hills around it—and that’s the feeling you should expect: a bright, open setting that resets your head after two ferry-based days.
In the early afternoon you make it back to Tobermory for about one hour, with access to the Tobermory Distillery & Visitor Centre area and a bit of time for shops. Whisky culture can be touristy in the wrong hands, but in a harbor town like Tobermory it tends to feel more like local identity than a theme park. Either way, it’s a straightforward way to add something indoor if the weather turns.
Practical advice: pack a light layer even in summer. Coastal weather can swing quickly, and you’ll appreciate having something warm when you’re standing by the water.
Inveraray and Luss on Day 4: castle town charm, then Loch Lomond views
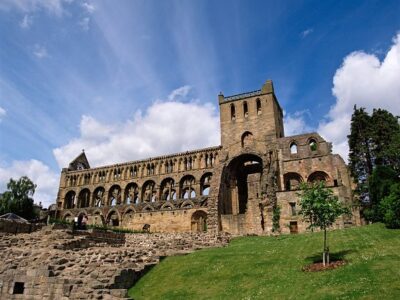
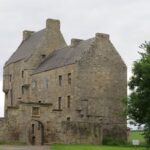
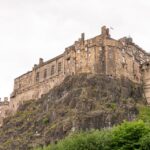
Your return day keeps the drive interesting rather than dull. You stop in Inveraray for about one hour. The town is framed as the home town of the Duke of Argyll, with a stunning ancestral castle. Even if you don’t go deep into interiors, Inveraray’s value is in pacing: it’s a chance to stretch, look around, and enjoy a more “town” atmosphere after island time.
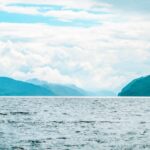
Then you head through the national park areas, making a stop at Luss on the “Bonnie, Bonnie Banks” of Loch Lomond. You’ll have time to wander the quaint streets and take in views of Loch Lomond and the iconic Ben Lomond.
This stop is a smart emotional landing. You start the tour with rugged drama in Glencoe and end with a calmer, lower-key loch setting. It helps the day feel like a complete arc instead of an all-day highway grind.
By the time you return to Edinburgh, the rough edges of the Highlands have softened into the flatter Lowlands, and that shift is part of what makes Scotland feel so varied in just a few days.
Small-group size and the mini-coach: what comfort buys you here
This tour caps at a maximum of 16 people. That matters because you’ll be sharing small roads, viewpoints, ferries, and breaks. With a group this size, you can usually move with less chaos, and the guide can keep track of timing without feeling like a traffic controller.
Transport is on a top-of-the-range mini-coach with 16 seats. A big practical detail: there are three steps up into the coach, each about 150mm high. The treads are non-slip and there are grab handles on both sides—good news, especially if you’re traveling with a bit of luggage. Also, there are no restrooms on board, but the group makes regular breaks.
If you’re booking for comfort: this tour’s comfort is mostly about smooth guided transit and scheduling, not about “spa-level” downtime. The driving sections are scenic and guided, but you still sit. Bring what makes sitting easier: water, layers, and a small bag that stays within reach.
Price and included value: when $1,080 makes sense
At $1,080.36 per person, you’re paying for a guided loop that covers:
- Driver/guide
- Transport on a 16-seat mini-coach
- Ferry transfers connected to Mull and Iona
- 3 nights in en-suite B&B or 3-star hotel
- Breakfast (3)
- Key stops (some listed as free) for viewpoints and town time
What’s not included:
- Meals and refreshments
- Admission fees for places you choose to enter
- The optional Staffa boat trip
So, is it good value? It’s best for you if you want the islands and West Highlands without the mental math of routing ferries, booking separate legs, and timing buses. The hotel + breakfast component alone helps, because you’re getting two categories of cost handled in one package: lodging and getting around.
This tour is also strong if you like “guided context.” The tour notes praise for guides like Rob, Alan, and Murray, with continuous explanation during long scenic drives. That kind of narration can turn driving time into sightseeing time.
The one thing to plan carefully: the price doesn’t cover most attraction entry fees, and Staffa is an extra cost. If you’re set on certain paid entries (like the Iona Abbey ticket and the Staffa boat), budget extra.
Comfort, timing, and packing the practical way

A few details that can save you stress:
- Start time is 8:45am, and check-in closes 15 minutes before departure. Be early; this tour leaves on time.
- You’ll want comfortable walking shoes. You’ll walk around towns (Tobermory, Inveraray, Luss) and stand for viewpoints.
- Bring a camera and spending money for optional tickets and meals.
- Dress for weather. Scotland changes its mind fast by the sea.
- Luggage is restricted: the tour lists 20kg (44lbs) per person in the details, while the FAQ mentions 14kg. Either way, plan on one airline-carry-on-size piece plus a small personal item bag.
If you care about accessibility: the bus is not wheelchair accessible. There is storage for a folding wheelchair or walking frame, but you must be able to get on and off the coach yourself (guides can’t physically assist).
Should you book the 4-Day Magical Mull, Iona & West Highlands tour?
I’d book it if you want a guided, small-group way to see Mull and Iona from Edinburgh with real time in Tobermory and a mix of iconic and calming stops. It’s especially a good fit if you dislike logistics and want transport + ferries handled, plus breakfast and en-suite rooms for three nights.
Don’t book it if your must-do list requires doing Iona Abbey and the Staffa boat in the same day. The tour is explicit that you can only do one of those options. Also, if you hate long seated stretches and want zero schedule pressure, this may feel busy even though there are breaks.
If you can answer one question, you’ll know: which memory do you want most—Celtic crosses and Abbey time on Iona, or Staffa’s Fingal’s Cave by boat? Pick the style that fits you, then let the rest of the route do its job.